Odin: Valhalla Rising
Helpful Tips You Didn’t Know
General Tips
- Don’t try to rush ahead; grow slowly. You can’t keep up with heavy spenders anyway. (In my case, I never even open Odin at work.)
- Get the Blessed Avatar Package (55,000 KRW). If you try to pull for a rare-tier avatar to get a Tier 1 one, you’ll end up spending more. I think it’s cost-effective.
(Note: The avatar you get depends on the class of the character you’re playing. If you’re a sniper, equip a sniper avatar before you pull.)
- Don’t auto-farm in the field. The experience points you gain are garbage. Auto-farming in the field will only stress you out and cause unnecessary hassle.
- Participate in Valhalla and world bosses, but don’t become obsessed. The rewards are trash anyway, and with heavy spenders dominating Valhalla, you won’t get the kill and thus won’t get the rewards.
- Do quests last. Finish all the dungeons you can first, then do the side and main quests.
- Sell items like hourglasses, golden seals, and anything worth more than 20 diamonds. If you don’t gradually save up daily diamonds, you’ll end up spending real money out of frustration later.
- When collecting items, just buy the ones that cost 10–100 diamonds at the marketplace. You can recoup the cost by selling the items again after using them for collection. Focus on growth first.
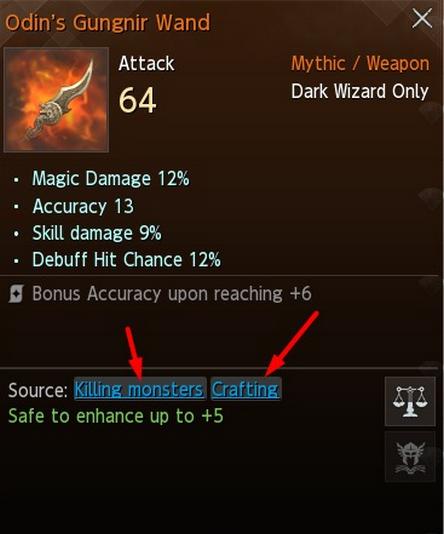
- Don’t hesitate to enhance gear. If you wait too long, you might not even have gear worth enhancing later. After +5, you’ll get too nervous to try.
- Upgrading weapons from +5 to +6 is easy, but upgrading armor from +5 to +6 is extremely difficult. Just keep that in mind.
- Don’t skimp on potions. Your achievements will restore your gold anyway. Even if you’re trying to save gold for skills, it takes forever to accumulate. Focus on growth first.
- Always check guides for main quest bosses. Attempting them blindly will only waste time and money.
- Never sell golden seals at the lowest price. Heavy spenders will buy them all anyway.
- Items priced at 10 diamonds won’t sell on the marketplace. Just dismantle them.
- When entering elite dungeons, every second counts. Don’t walk to the mobs—use teleport scrolls to go straight to them and save time. Some people may not know this, so I’m mentioning it.
- Storage is shared across characters. So, any quests and items you gain on twinks can be transferred to your main. Create same-class twinks on the account so you can use same-class cards, which are shared across the account. Skillbooks are NOT shared.
Budget Whale Guide
If you enjoy whaling but do not have an infinite budget, aim for one Mythic of each type. This provides the biggest stat bonus to create a gap between you and those without any Mythics.
Collect as much collection bonus as possible.
Napkin Math (Raw Gems):
- ~$5k per Legendary
- ~$20k per Mythic (if lucky with fusion/synthesis)
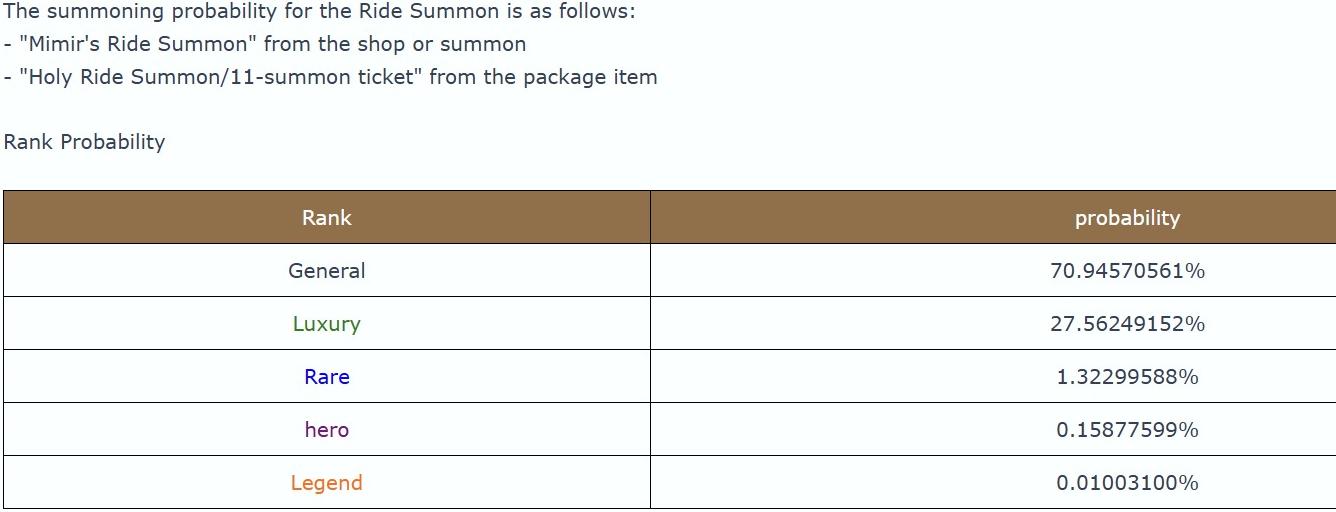
You cannot pull Mythics from Gacha, only through fusion or events. There is no pity system except for Event Banners or special cases.
Class Spend Guide
- DPS: You need to spend to have a meaningful impact.
- Healer/Support: Lower spending is needed, but a whale healer/supporter will be in popular demand in PvP zones and endgame content.
- Tank: Mid-level spending is needed, but a whale tank will be in demand for endgame dungeons and high-level PvP.
Activities & Progression
PvE Dungeons
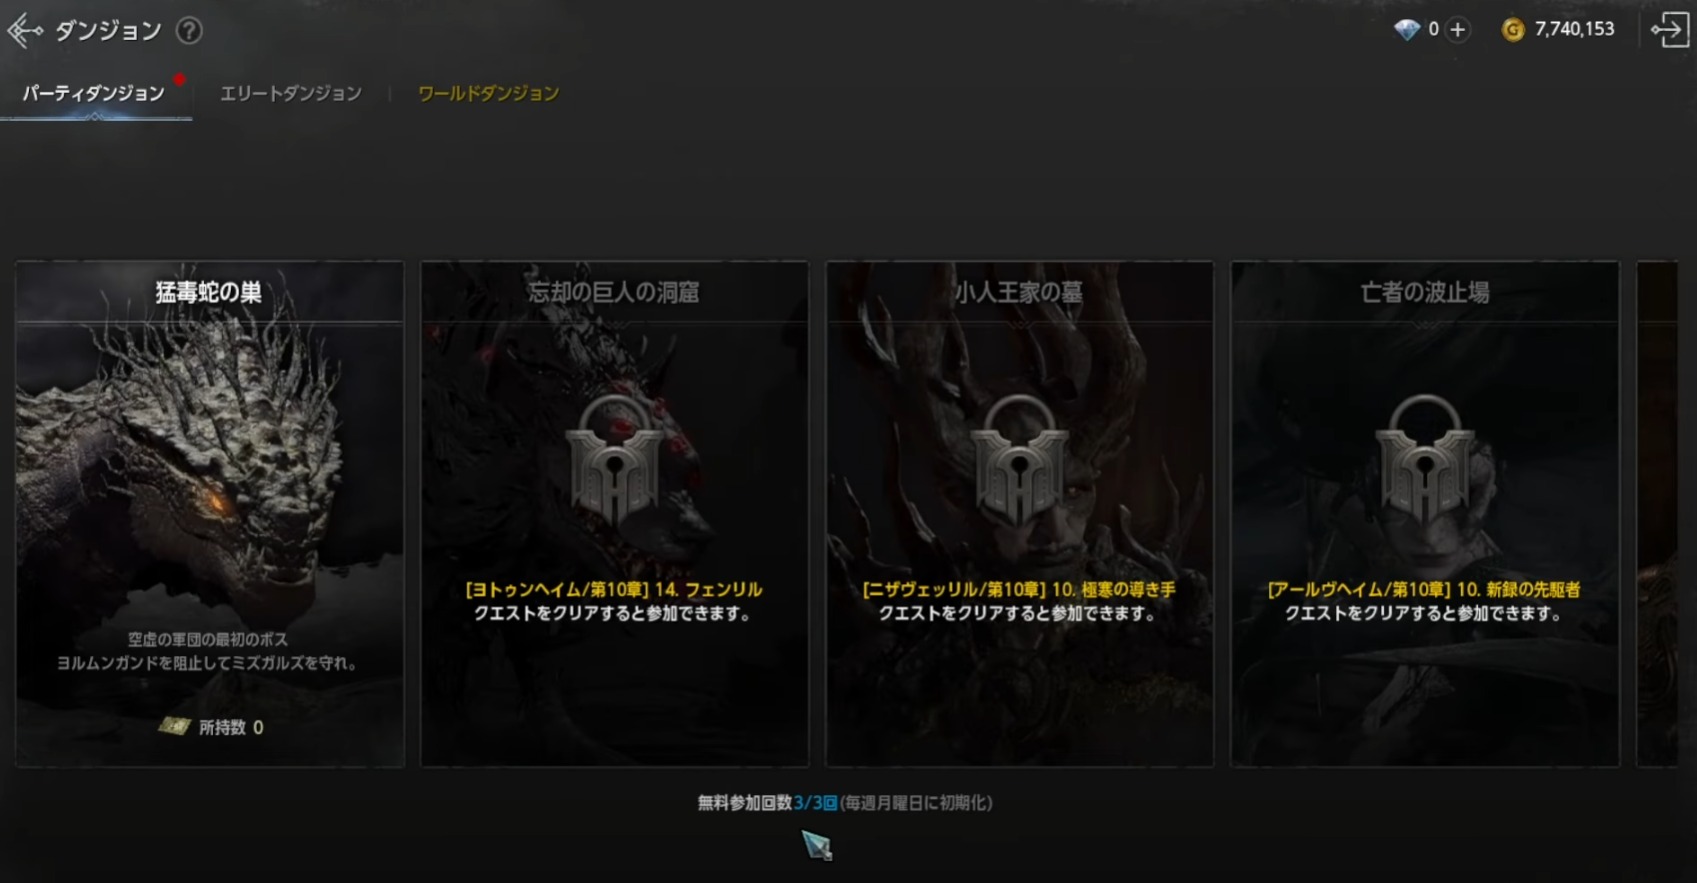
- Run 3 times weekly.
- Primary source for grinding Gear Mats, Skill Mats, and Potions.
Crafting & Gear Acquisition
- Gear Mats are used to craft End Game Gears.
- Gear Mats can also be obtained by farming PvP zones.
Player Strategies
- Casual F2P: Farm PvE dungeons daily to slowly grind enough materials for crafting.
- Whales: Form a strong PvP squad to AFK farm PvP zones for gear drops.
Collection System
- Whales should prioritize collecting Avatar skins, weapon skins, and Mounts.
- Collecting items grants Collection buff bonuses.
- Rates for obtaining high-rarity items are very low with no pity system.
Collection Bonuses
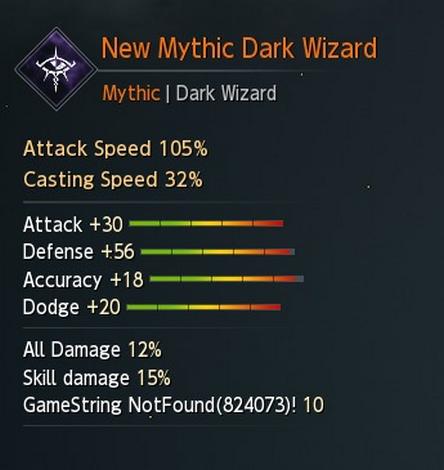
- You can equip 1 Mythic item of each type (Avatar, Weapon Skin, Mount, etc.) for direct stats.
- Additional collected items beyond the equipped ones contribute to collection bonuses.
- Collection bonuses provide stacking stats, making it beneficial to fill the collection as much as possible.
Rarity Gap
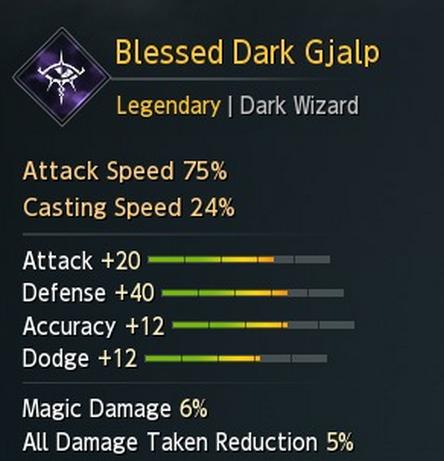
- The gap in power/stats between Mythic and Legendary rarity is very noticeable.
- The gap between Legendary/Mythic and lower rarities is also significant.
Fusion (Synthesis)
- A Fusion (Synthesis) system exists.
- There is no guaranteed fusion of a higher rarity item.
- Fusing 4 Legendary rarity items provides an attempt to obtain 1 Mythic rarity item.
Class Summary
Warrior
Defender
- Each guild needs at least 3 Tankers to develop a stable guild boss dungeon run every week.
- Also, during GVG, 1 Defender can tank and pull 4 opponents who are easily stunned.
- It's hard to find a high CP Tanker in the late game; everyone welcomes you even with low CP.
- But it's hard to play as F2P, hard to increase CP without help since it's difficult to farm alone.
Berserker
- A secondary Tanker for the guild.
- Deals lots of damage so can farm alone, but sustainability is still low.
- PVP-wise, pulls in 1 opponent but hits hard.
Rogue
Sniper
- Long range with high damage gives fast growth.
- For PVP, lots of stun, so even low CP can manage.
- Can easily finish Main Quest bosses due to fast movement and high damage + long range.
- The only risk of playing Sniper is when you get the Yellow Assassin avatar; you have to renew all your collection from long-range to melee class. This will give you another type of fun but needs more diamonds + time to get stronger.
Assassin
- Huge damage.
- Since it's a melee class without block (and only 1 block skill), it's hard to manage even with high CP.
- Was the best class at first, but not anymore.
Sorceress
Arc Mage
- Efficient farming, huge damage.
- Always lacks mana, so you have to invest more in stats that restore mana, which means sacrificing damage for mana recovery.
- However, critical damage from AM deals almost the highest amount among most classes so far.
- Deals the highest damage against Field/World Bosses.
Dark Mage
- Dot damage is the best with this class, easily getting last hits on field bosses with dot damage skills.
- Always lacks mana like AM.
- PVP queen due to insta-stun.
- It is very important to have a DM for World Dungeon since she will make sure to get the last hit.
Priest
Saint
- The most valuable class at the end (along with Defender).
- It's hard to find decent Saints, so most high CP players have another account as Saint to provide healing to their main class.
- Healing 65% with all skills and reviving during dungeon/war turns out to be a great strategy in the mid-end game.
Paladin
- The only class who can over-CP farm and does not die, so you can see lots of Paladins at higher farming grounds.
- This means they have a higher chance to get higher, expensive items (if this is your aim).
- During GVG, she gives buffs to teammates rather than healing.
- Should be in the front line with Defender, best coupled with Berserker/Defender.
Overall Ranking
AM > Sniper > DW > Saint > Paladin >> Assassin > Berserker > Defender
Choose Based on Your Playstyle
- F2P but performance-focused = Dark Mage / Sniper
- Busy worker who wants unkillable sustain = Paladin
- Like healing and buffing for party/guild = Saint or Bard
- Want a 2-character ranged setup = Arc Mage + Saint or Bard
- 2-character ranged with unique style = Axeler + Saint or Bard
- 2-character melee setup = Defender or Berserker or Valkyrie + Paladin
- Willing to spend a ton of cash = Assassin
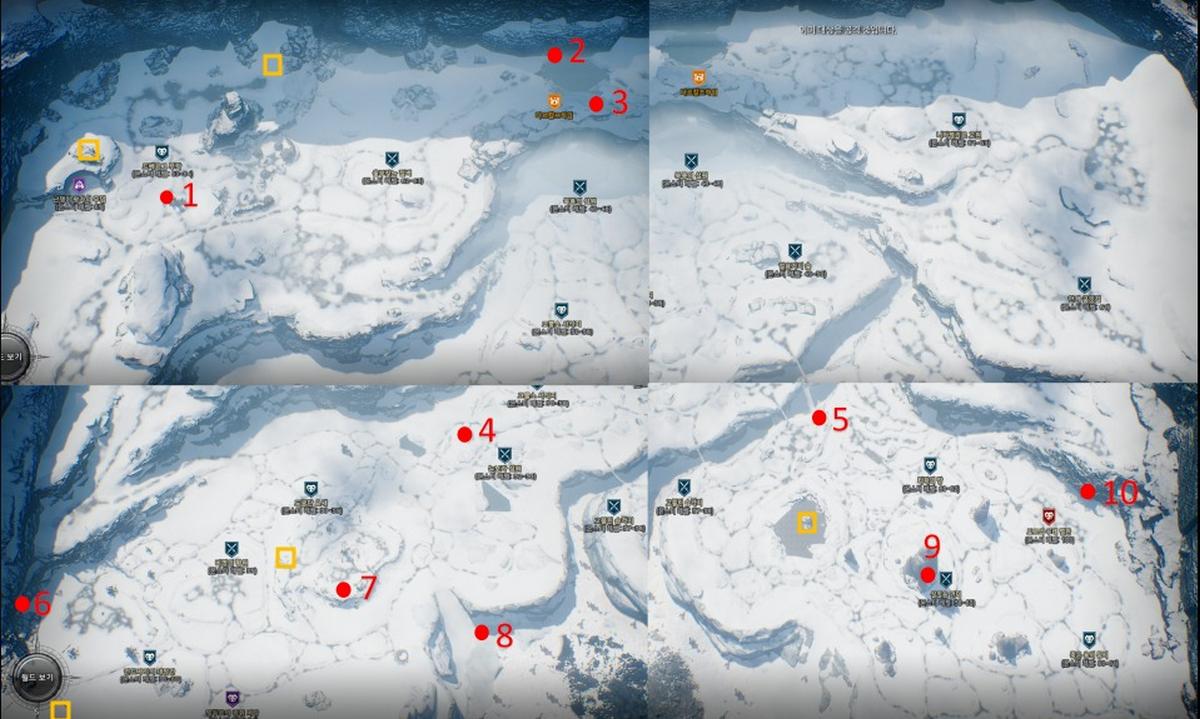
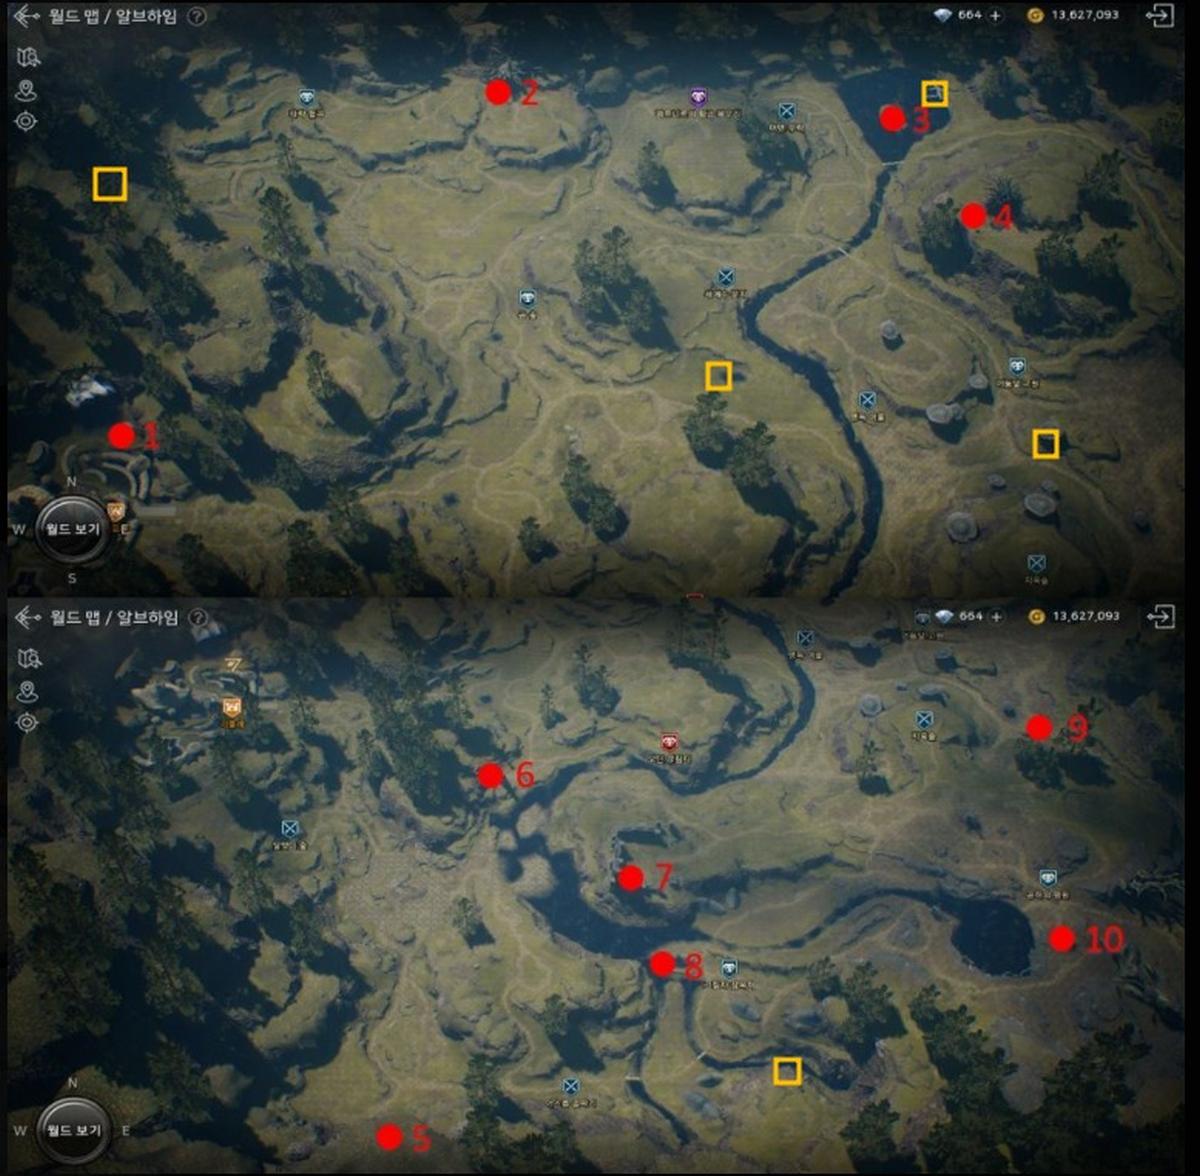
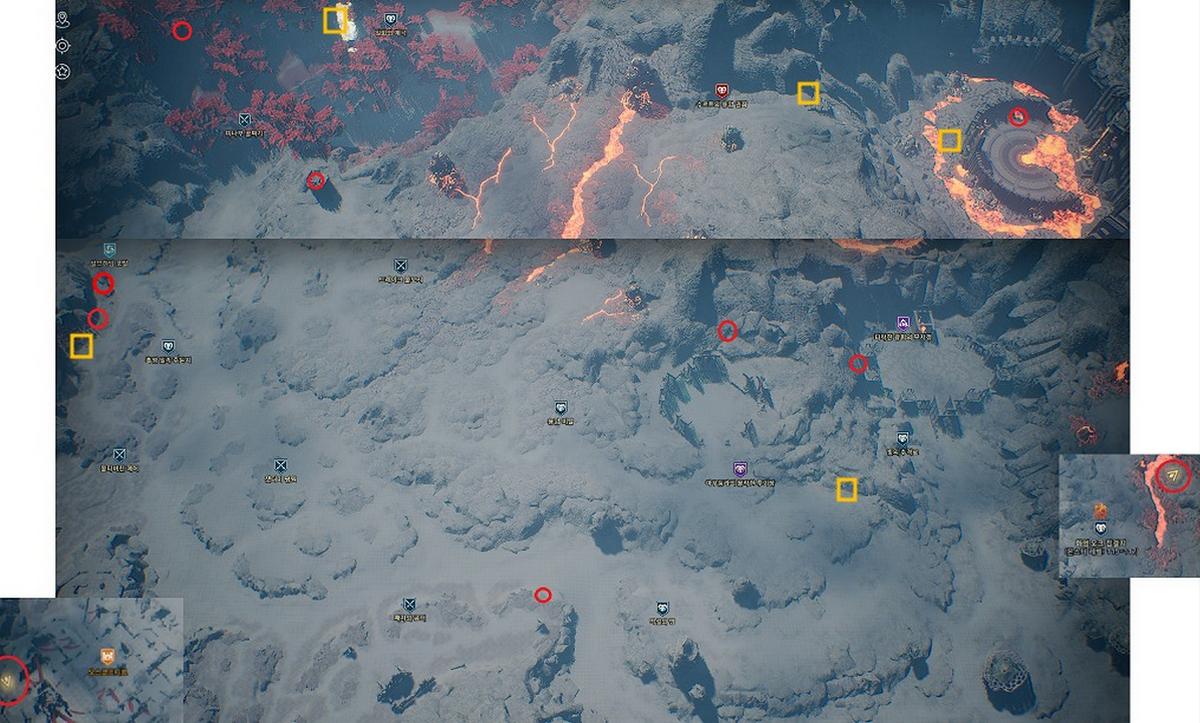
Treasure Maps
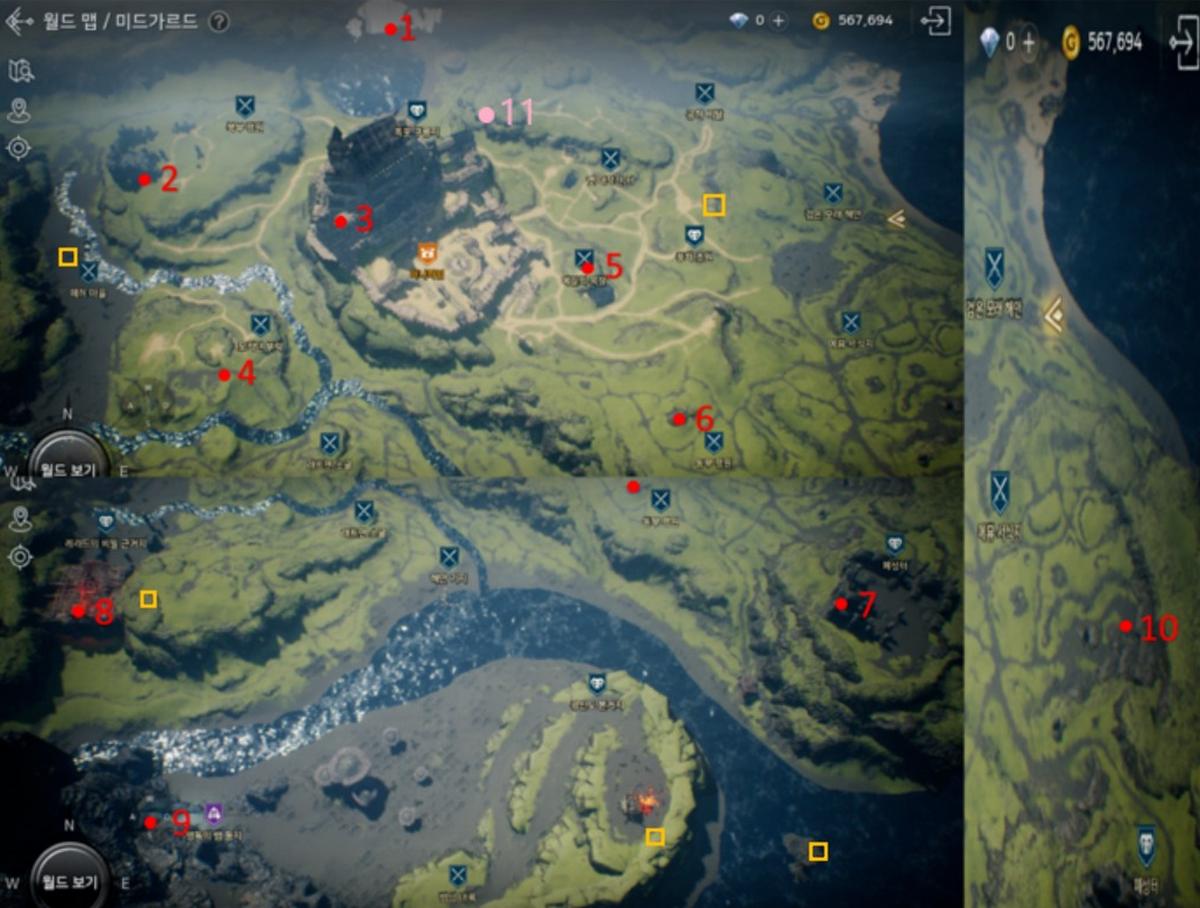
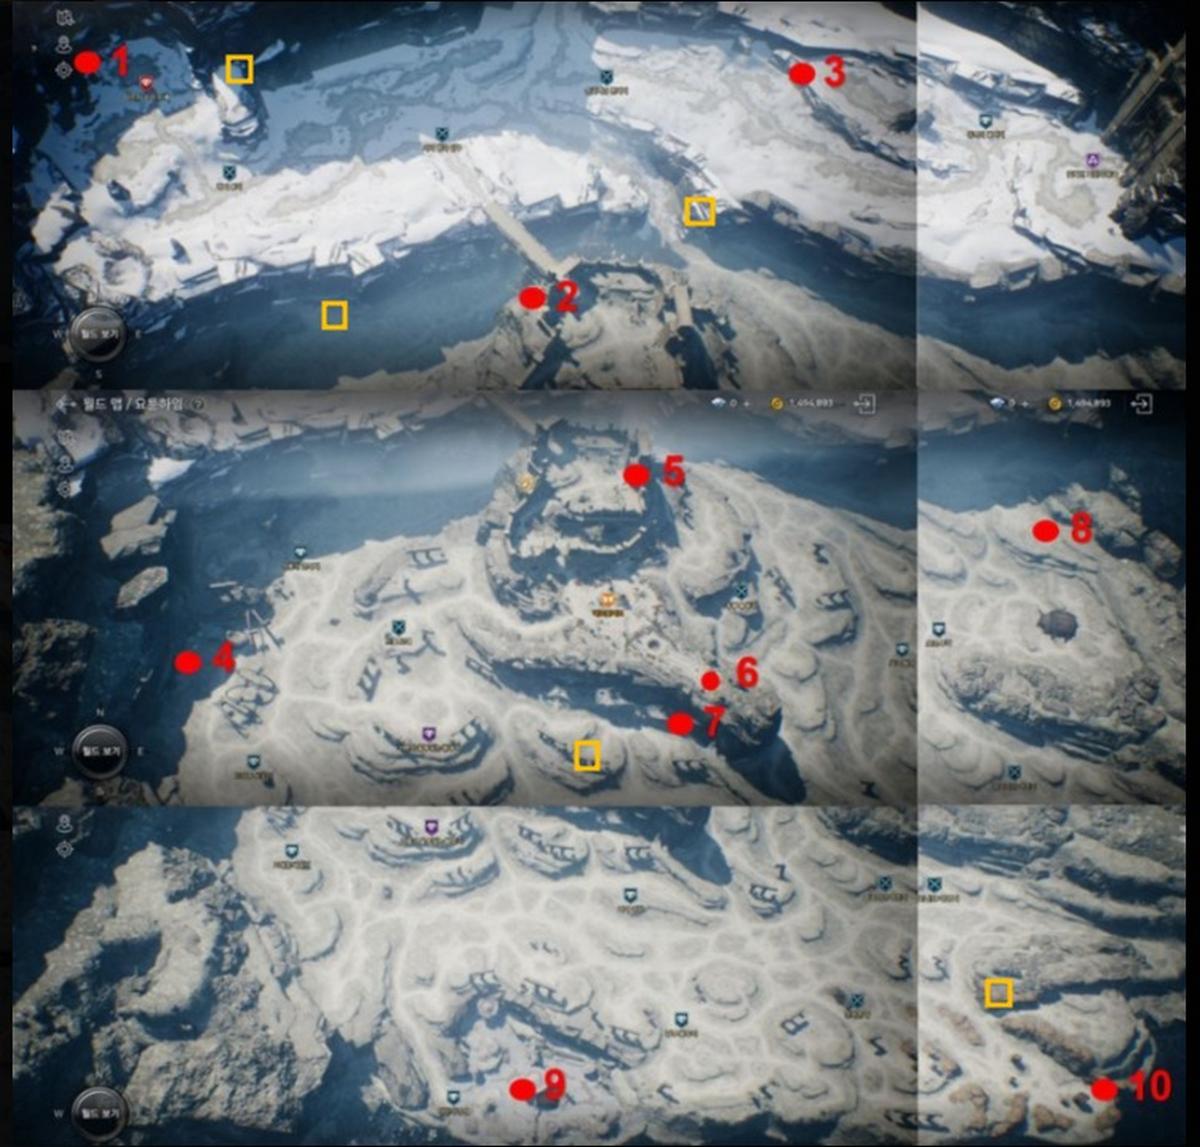
You have 10 treasures in each location. Multiply that by 5, because you can have 5 characters on one account, which gives you 50 different draws just in Midgard.
Resets
Daily Resets
- 7 daily quests - 20-30 mins depending on your killing speed
- Exp/gold dungeon - 1 hour per char (multiply by the number of characters you run)
- Weapon/armor scroll dungeon - 1 hour per char (multiply by the number of characters you run)
Weekly Resets
- Underground prison - 8 hours per week per char
- Dungeons - 3 tries per week per char
On top of your MSQ and other required farming which takes about 1-2 hours.
Day 1 Step-by-Step Guide
- Pick Your Class Carefully
- Choose a class that fits your style: Warrior (tank/damage), Sorceress (magic), Rogue (fast damage), or Priest (support).
- Follow the Main Story Quests
- Focus on main quests — they unlock new maps, give tons of EXP, gold, and important features.
- Accept Side Quests Along the Way
- As you move through the main quests, pick up nearby side quests for extra EXP and gear.
- Level Up Quickly to Unlock Auto-Hunt
- Auto-hunting makes life easier. Try to unlock it early (usually by reaching around level 20–25).
- Enhance Your Gear
- As soon as you get equipment drops, upgrade them using enhancement stones and materials you find.
- Claim Freebies from the Shop
- Open the shop and grab the daily free items (gold, summon tickets, etc.).
- Do Daily Dungeons
- Use your dungeon entries! They give EXP, enhancement mats, and better gear.
- Equip Avatars, Mounts, and Pets
- Even basic ones boost your stats massively. Check your inventory and equip what you have.
- Set Up Offline Farming Before Logging Out
- Turn on Auto-Hunt in a safe spot so your character keeps farming even when you’re offline.
- Check for Events and Free Rewards
- Look at any ongoing events. You might get bonus items, skins, or double EXP.
